Save and share a view
Save the filters, sort and columns of a list as a named view. Then update it, share it with everyone who can open the list, or make it the view the list opens on for you.
- Applies to
- Core 12.0 and later
- Who can do this
- Administrator, Team member
- Permission
feature.core. data_view. share
On this page
Before you start
- You don't need a permission to save, rename or delete your own views.
- To share a view, your role needs Share Saved Views (
feature.). Without it, the share options don't appear.core. data_view. share - If you're new to views, read How saved views work first.
Save a new view
-
Open the list and set it up: add filters, sort a column, show or hide columns.
-
In the toolbar, select Saved views. The views strip opens above the list.

-
Select the view picker (the button with a bookmark icon, showing the current view's name).
-
Select Save view. The Save view dialog opens.
-
Enter a Name. Under What this view remembers, check the filters, sort and columns it will keep.
-
Leave Save as a new view selected.
-
If you want the list to open on this view for you, turn on Make this my default view.
-
If you want everyone who can open this list to see it, turn on Share with everyone.
-
Select Save view.
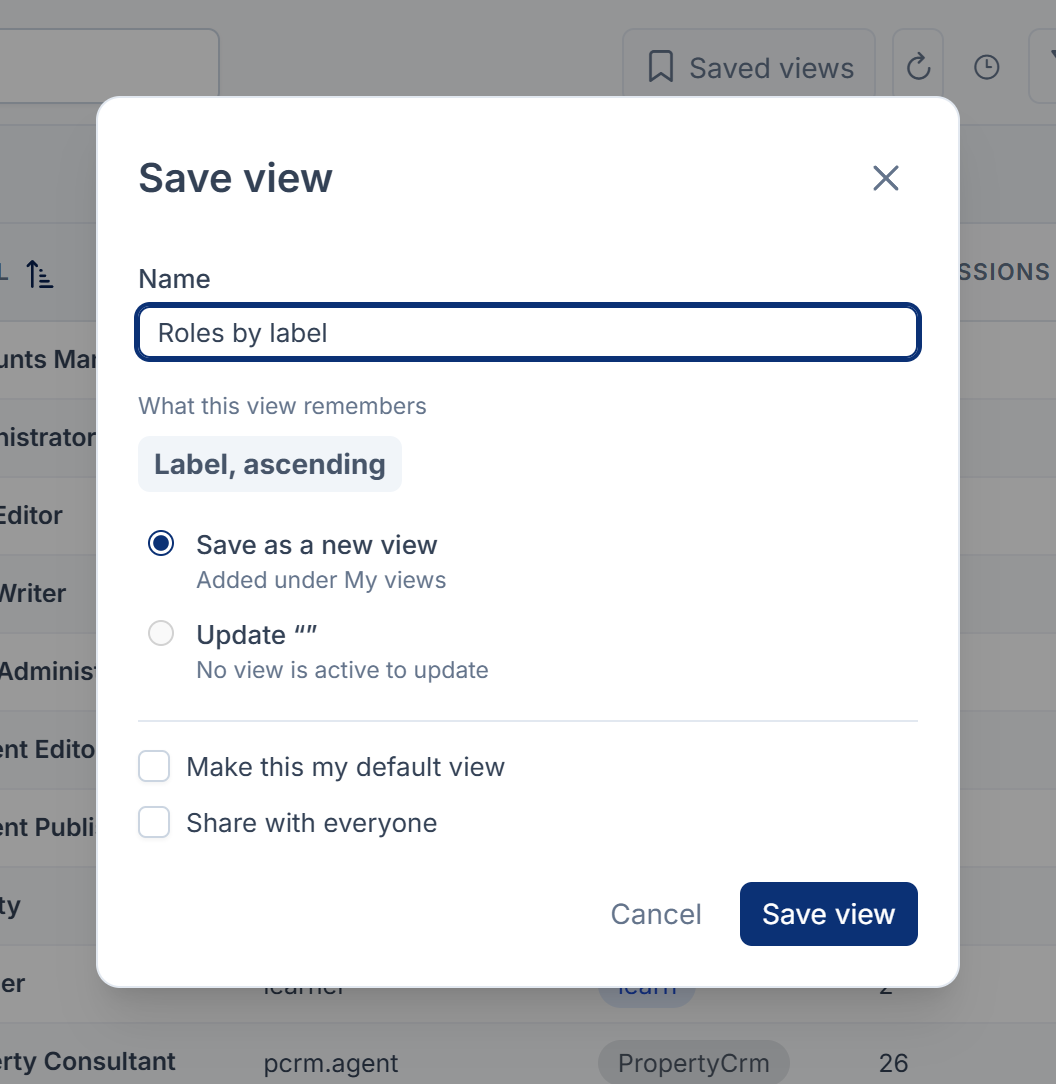
The view appears under My views in the picker, and as a pill in the views strip.
Tip: If you changed a view you'd already applied, the strip shows Modified with Save as view beside it. That button opens the same dialog, already filled in with the view's name.
Update a view with your changes
-
Apply the view, then change its filters, sort or columns.
-
Open the view picker and select View actions (the … button) on the view's row.
-
Select Update with current table state. The line under it says what will be written, for example "2 filters, Name, ascending".
To throw your changes away instead, select Reset in the views strip, or Discard in the view picker.
Share a view, or stop sharing it
- Open the view picker and select View actions (…) on one of your own views.
- Select Share with everyone.
The view now shows a Shared badge in your picker, and appears under Shared with me for your colleagues. They can apply it and make it their default, but they can't change it. To withdraw it, open the same menu and select Stop sharing.
Careful: Updating a shared view changes what everyone using it sees, including people who land on it by default.
Set a default view
- Open the view picker and select View actions (…) on any view, including one shared with you.
- Select Set as default.
The view gets a Default badge, and the list opens on it for you from now on. Nobody else's default changes.
To land on a different view, set that one as your default instead. To see every record again, select the first pill in the views strip, or the first row in the view picker. Its name starts with All. It has no Set as default, so the list still opens on your default view next time. To land on all records again, delete your default view, if it's one of yours.
Rename, duplicate or delete a view
Open View actions (…) on one of your own views, or select Manage views at the bottom of the picker to work on all of them at once.
- Rename… changes only the name. It never saves your current filters into the view.
- Duplicate makes a copy named "name copy", with the same filters and columns.
- Delete view removes it.
Danger: Delete view acts straight away, without a confirmation. If other people land on the view, the menu says how many under Delete view. They fall back to all records.
What happens next
Your views follow you to any device you sign in on. To filter before you save, see Filter a list.
Thanks. That helps us decide what to write next.
Thanks for telling us what was missing.
You already answered for this article today. Thanks.
We got a lot of answers from your network just now. Try again in a few minutes.
We couldn't send that. Check your connection and try again.
Links in this article
Printed from help.laramin.in. The online article may have changed since.