Create a workspace
Add a business to your installation, set its time zone, and add the people who work in it.
Why this step
Only if you run more than one business. Each workspace keeps its people and records apart from the others.
Today you only need:
- Applies to
- Core 12.0 and later
- Who can do this
- Administrator, Platform owner
- Permission
feature.core. workspace. create - Where
- Users Accounts › Workspaces
Before you start
- You need Create Workspace (
feature.). To add people, you also need Create Workspace Member (core. workspace. create feature.).core. workspace_member. create - Decide on a short code for the workspace, for example
chennai. - Not sure what a workspace is? See How workspaces, teams and experiences control access.
Steps
Create the workspace
-
In the menu, open Users Accounts › Workspaces.
-
Select New Workspace.

-
Enter a Name, up to 191 characters.
-
Enter a Code, up to 64 characters. Use letters, numbers, dots, hyphens and underscores only. No other workspace can have the same code. You can change it later.
-
Optionally, add a Description of up to 500 characters.
-
Choose a Time zone. Leave it on Follow the system to use the installation's time zone.
-
Leave Status set to Active.
-
Turn on Default only if new sessions should start in this workspace. Only one workspace can be the default.
-
Select Save.
Add people to the workspace
-
In Users Accounts › Workspaces, open the workspace's row actions menu (Row actions) and select Workspace Members.
-
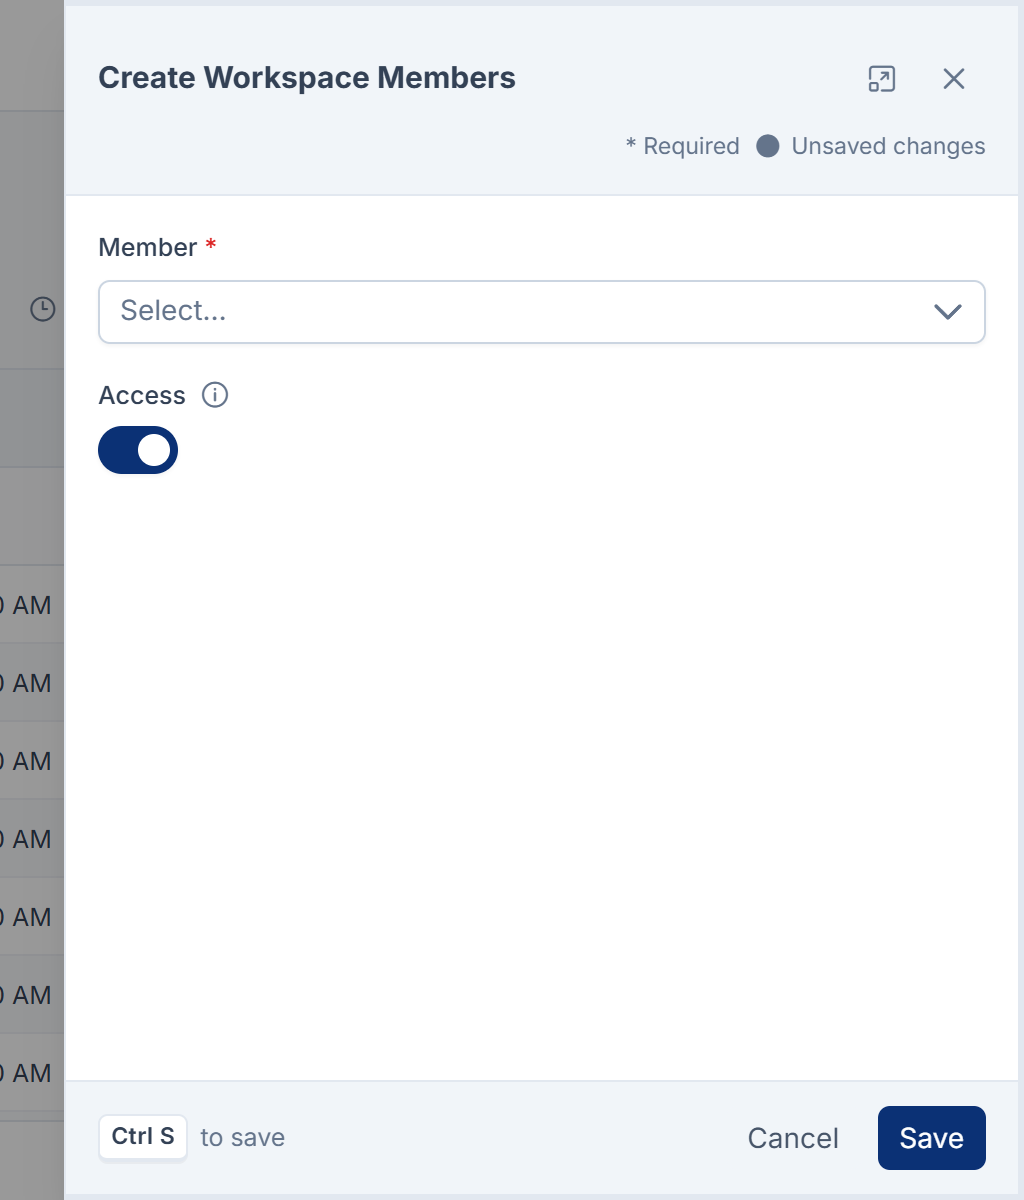
Select New Member.
-
In Member, choose the person. The list shows up to 200 people, sorted by name.
-
Leave Access set to Active.
-
Select Save.
Repeat for each person.
Tip: To stop someone entering the workspace while keeping their history, set their Access to Dormant.
What happens next
Members can now switch to the workspace from the header. To work in it, each member also needs an experience in this workspace. See Choose which experiences a user can enter. You can now create teams inside the workspace, or change its settings.
Changing a workspace later
-
Time zone: this decides what "today", working days and due times mean for everyone in the workspace. When you change it, Laramin asks Change this workspace's time zone? Select Change time zone to confirm. Saved times don't move: the same moments are shown in the new zone. People who have chosen their own time zone still see times in theirs.

-
Archiving: set Status to Archived. Nobody can enter an archived workspace, but its records are kept. Laramin won't archive the default workspace or the only active workspace, and explains why.
-
Deleting: you can't delete the default workspace. Make another active workspace the default first.
Links in this article
Printed from help.laramin.in. The online article may have changed since.